Adjustable Header Use Manual For Tube Chassis Door Cars
Tools needed: 5/8" wrench, 3/4" wrench, 1/2" wrench, 2 - 15/16" wrenches, tools to remove/install the bolts or studs you use for header mounting.
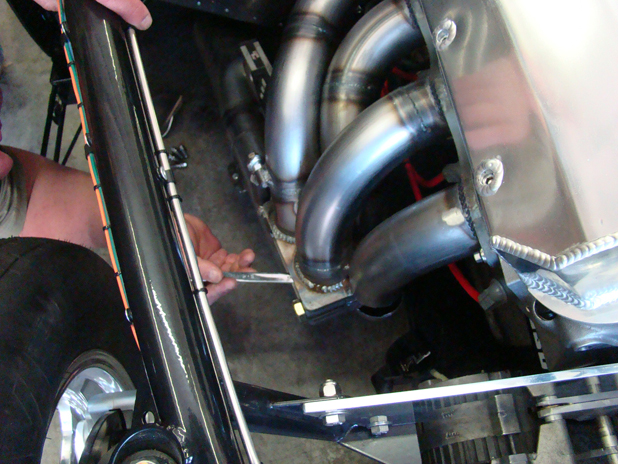
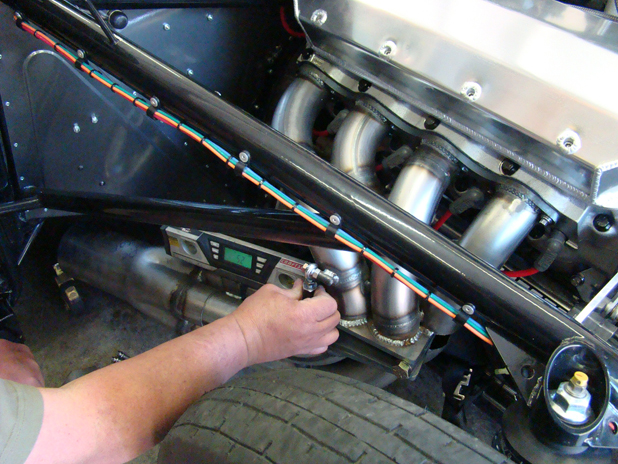
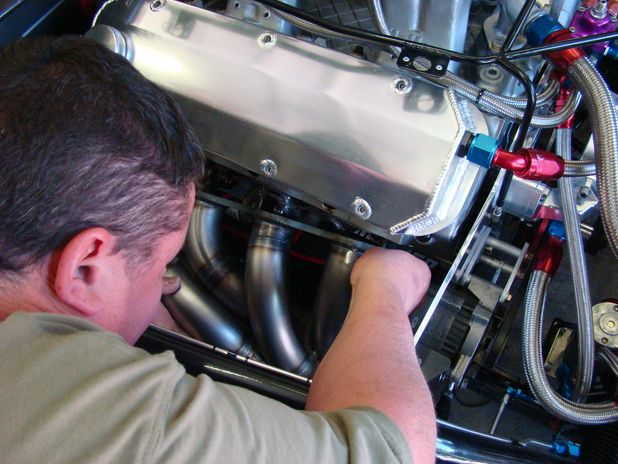
1. Starting with either side, loosen the two bolts holding the horizontal adjustment plate just enough to allow the lower half of the adjustable header to move (pic 1). If you need to adjust the vertical turnbuckle to allow installation, do that also (pic 2), then bolt the adjustable header on. (pic 3)
2. Pivot the collector side to side until it is aimed optimally at the collector box. Adjust the turnbuckle to set the height utilizing the angle gauges to make both sides match as well as possible.
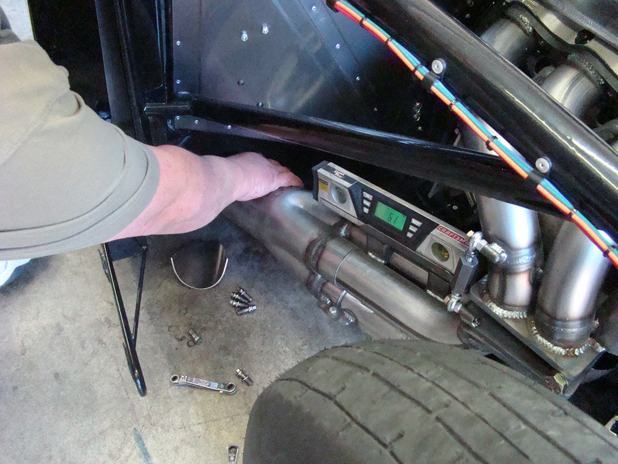
3. When satisfied with the fit and location of the adjustable headers, tighten all adjustment bolts adequately to avoid mis-adjustment during shipping. This includes the turnbuckle locking nuts, the two pivot plate bolts, and the large hinge bolt.


4. When completely satisfied, unbolt the adjustable headers from the head and return to Mike’s Fab Shop Inc to have your custom headers built from the layout you've created.